Fujifilm X-E4 (X-Trans IV) Film Simulation Recipe: Kodak High Definition Plus 200

This Kodak High Definition Plus 200 film simulation recipe was a fun one to make. My wife, Amanda, was looking through an old box of pictures when she came across a group of prints that she thought looked interesting, so she showed them to me. The images were captured in the Sierra Nevada mountains, largely in the Sequoia National Forest, in 2006. I had no idea what film I used, but after locating the negatives, I discovered it was Kodak High Definition Plus 200. The pictures were printed on Fujicolor Crystal Archive paper. Not surprisingly, Fujifilm paper produces a different aesthetic than Kodak paper, so if this film had been printed on Kodak paper the pictures would look a little different. Back then, the rule of thumb for best results was that Kodak negatives should be printed on Kodak paper, Fujifilm negatives should be printed on Fujifilm paper, etc., but obviously I broke that “rule” with these travel pictures.
Kodak High Definition Plus 200 was a color negative film that was also sold under the name Kodak Royal Supra 200. At the time, Kodak claimed that it was the sharpest and finest-grained ISO 200 color negative film on the market. Originally there were ISO 100, 200, 400 and 800 varieties, but since this film line was introduced right at the beginning of the decline of film, it didn’t take Kodak long to discontinue all but the ISO 200 and 400 versions, and even those didn’t last all that long. I shot a few rolls of the film, and after digging through that photo box, I found two sets of negatives, both exposed around that same timeframe. I honestly don’t remember all that much from the experience, but it was fun to rediscover these long-forgotten pictures and recreate the aesthetic on my Fujifilm X-E4 camera.


For ISO 200 color negative film, Kodak High Definition Plus 200 was indeed pretty sharp and fine-grained. It was moderately vibrant (just a little above “true to life”) and contrasty but not overly contrasty. From what I can tell, it didn’t have as large of an exposure latitude as some of Kodak’s other color negative films. It was warm, but seemed to lean more towards green than red when printed on Fujicolor paper. Obviously, how the film is shot, developed, printed and/or scanned will affect how it looks (I apologize for my poor quality scan above, which doesn’t do the picture justice whatsoever, but I wanted to share it anyway). This recipe mimics how I shot the film in 2006, printed on Fujicolor paper. It is compatible with the Fujifilm X-Pro3, X100V, X-T4, X-S10, X-E4, and X-T30 II cameras.
Classic Chrome
Dynamic Range: DR400
Highlight: 0
Shadow: +1
Color: +2
Noise Reduction: -4
Sharpening: 0
Clarity: -3
Grain Effect: Weak, Small
Color Chrome Effect: Weak
Color Chrome Effect Blue: Weak
White Balance: 4800K, -2 Red & -7 Blue
ISO: Auto, up to ISO 6400
Exposure Compensation: +1/3 to +2/3 (typically)
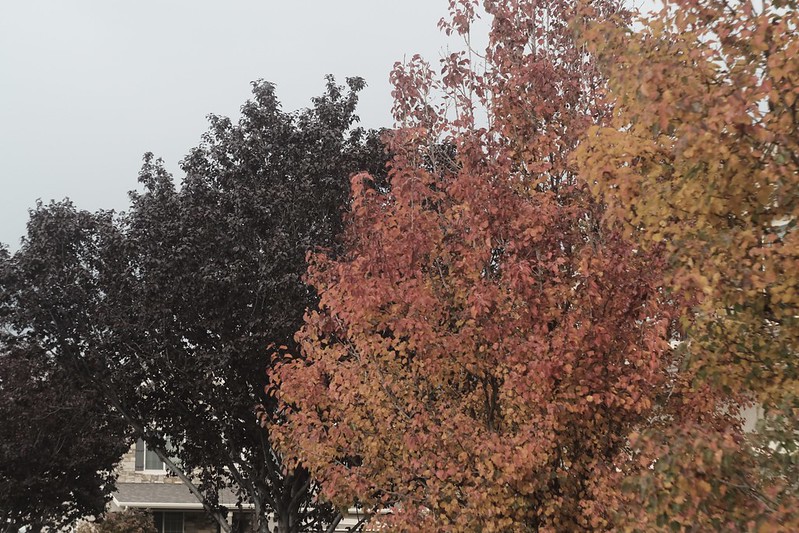
Example photographs, all camera-made JPEGs using this Kodak High Definition Plus 200 film simulation recipe on my Fujifilm X-E4 & Fujifilm X100V:


Find this film simulation recipe and many more on the Fuji X Weekly — Film Recipes App!


Help Fuji X Weekly
Nobody pays me to write the content found on fujixweekly.com. There’s a real cost to operating and maintaining this site, not to mention all the time that I pour into it. If you appreciated this article, please consider making a one-time gift contribution. Thank you!
$2.00